Continuous Deploy in Visual Studio Team Services
by Joseph on Jun 23rd in Visual Studio, Web Development
A few months ago, I wrote about my experience migrating a client into Azure. Now, there’s more! Visual Studio Team Services has released some pretty awesome features related to Build and Release management. Here’s a quick overview of what I did to get a Continuous Deploy scenario set up recently.
Environment Setup
- 3 Deployment Slots in Azure Web Application
- Production
- Staging (used for QA by my customer)
- Develop (always the most up-to-date development branch)
- Code hosted in Team Services Git Repository
- Free private repositories
- Built-In Git-LFS
- Work Items are tracked on Trello
- It’s easier to get my users to log on to Trello than VSTS
- No Unit Tests
- Yeah. I know.
- The project is 10 years old – Unit Tests are coming, but I have to get it into a state where Unit Tests are possible.
Build Tasks
In the past, VSTS build scripts were XML based scripts, similar to old MSBuild. Now, however, they are more similar to something you’d see in Team City or Jenkins.
Create a build
There are a number of types of builds VSTS is capable of running. Visual Studio and Universal Windows builds are somewhat obvious perhaps. What may not be so obvious are the XCode, Android, or iOS build options!
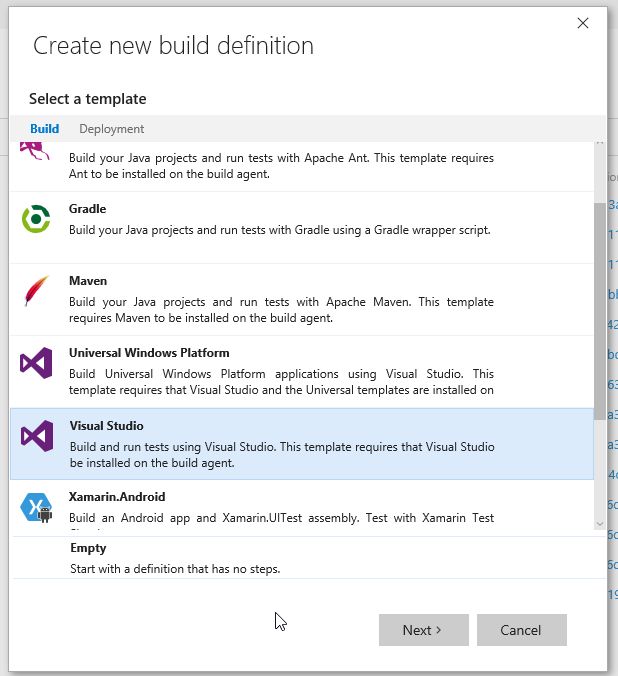
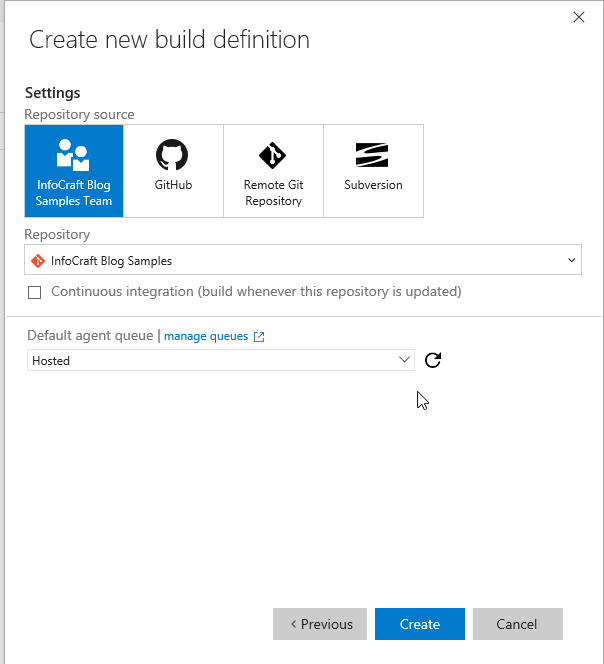
Select a repository
You don’t have to use Visual Studio Team Systems as your code repository in order to use the build services. The service can monitor any Git repo, and seems to be able to handle Subversion as well, though I haven’t actually tried that, myself. You can configure a Continuous Integration (CI) build – which attempts to build on every check-in, or you can make it strictly manual.
Personally, I have a CI build for my develop and master branches, but not any of my feature branches.
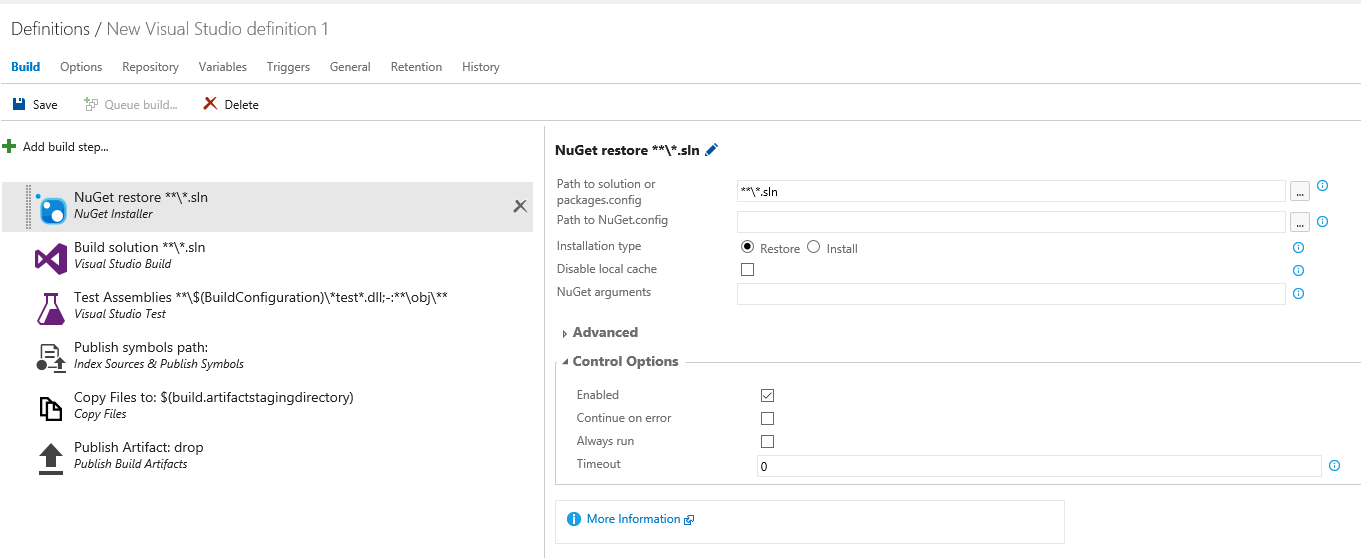
Edit Build Tasks
For most builds, you can probably leave the build tasks as the defaults. However, there are options for running load tests, functional tests, copying files into specific locations, and all sorts of custom things. You can even run a powershell script.
Release Tasks
Once your build is set up, you have a couple of options for deploying it.
Previously, I went the route of using the deployment slots, which have a “Deployment Source” option.
With that option, you designate one slot to pull the build when it is complete, and then when the QA is complete,
you can “hot swap” the slot, pushing the current version of the app into the production deployment slot.
This is a valid method, and works well in many cases. However, I decided I wanted more granular control over what version of the app
is active in each slot at a given time.
This primarily stems from my concern that the build on the server will become “stale”, due to the client making a change in production, and I won’t be aware
of the change.
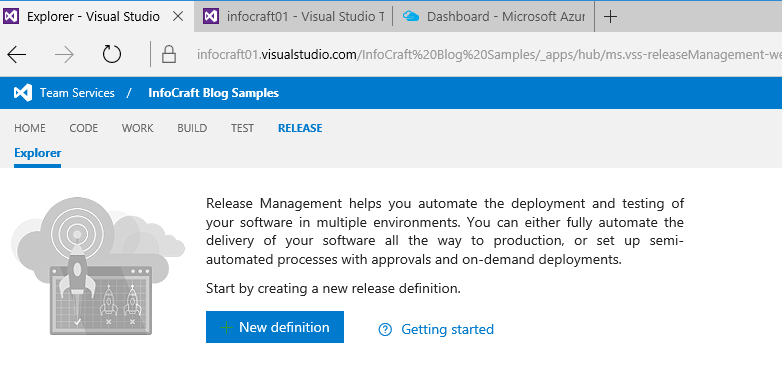
Luckily, VSTS recently released “Release Management”. Which we’ll look at now.
Create A Release
The first step is to create your release! I suggest reading the documentation, but if you’re like me, that’s not happening.
Jump right in, what could go wrong???
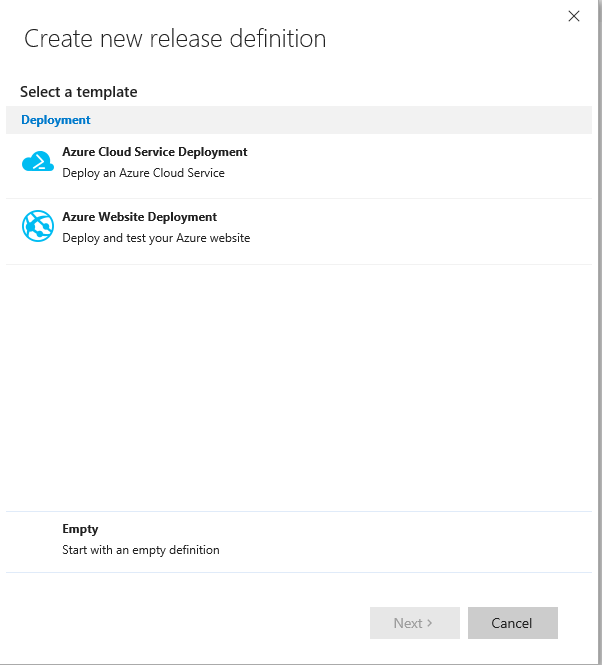
Select a template
At this point, I think your only options are basically Azure deployments. BUT… I could be wrong.
Personally, I like the ease of using Azure, so it’s not a big deal to me, but I will be pretty excited
when I can set up a release to deploy into self-hosted IIS or AWS. I think that will easily tip the
scales in favor of VSTS Build\Release over Team City and Octopus.
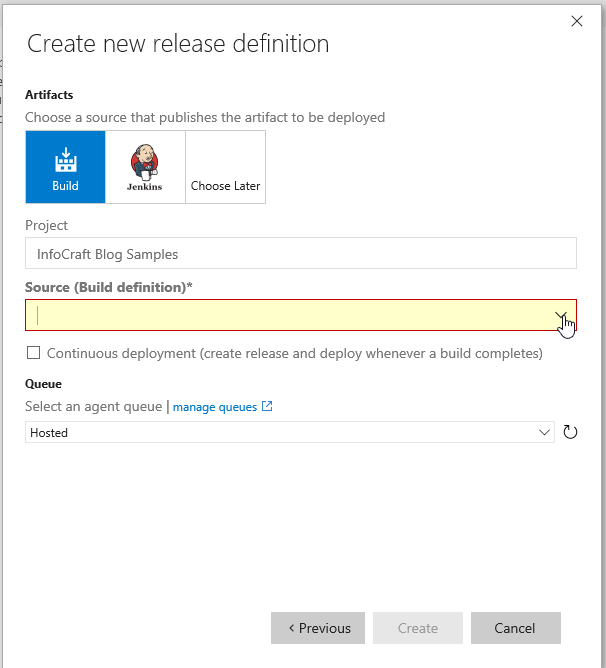
Choose your Build Artifacts
Here, you select the service from which you want to pull a build project. The obvious choice is VSTS Build,
but Jenkins is also available.
The source you select here is a default, not the only option. You can choose other sources later.
This is ALSO where you determine if this should be a Continuous Delivery (CD) release.
Again, this is not a permanent choice – you can change your mind.
I usually leave this off until I am comfortable that the Release is consistently working with a stable build.
If you decide to turn on CD later – look for triggers, and set the trigger for “Continuous Deployment”.
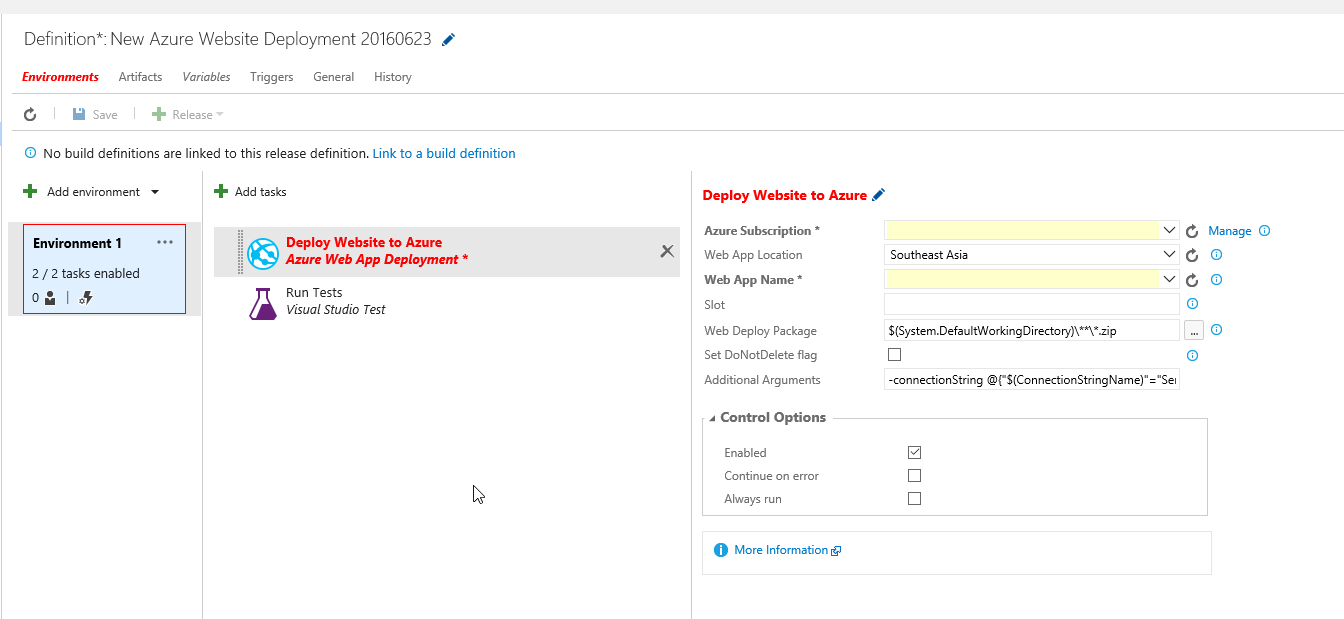
Edit Release Steps
As in the Build Process, I mostly leave the default settings the way they are.
The one tricky part here is the Azure Subscription Settings. My account was linked up just fine,
but I have heard reports of people having difficulty getting their accounts to properly sync.
If this happens to you, please let me know – I’d love to help, or to know what you did to get it working.
Conclusion
Honestly, I’m thrilled with the latest offerings here by Microsoft.
I feel like this particular project is finally moving from a state of
Oh lordy, I hope this deploy doesn’t mean I have to stay up for 12 hours fixing the site
to
Ho hum, another deploy. That was easy.
Of course, it’s not quite that easy – there’s always hiccups, but now they’re definitely related to
the fact that I need better tests and QA, not my inability to correctly deploy a web app!
Thanks Visual Studio Team!
